
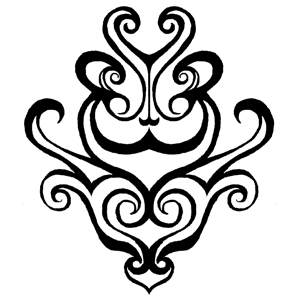
I used to do a lot of doodling in school. I’m an antsy person, so I needed something to do with my hands while I listened to lectures (shocking, I know!). So, I doodled. A lot. Basically, I’ve been drawing these little bits since junior high school. I should be able to do a decent job on it by now, right??
I’ve been working on a blogsite for my semi-hobby-professional photography. Since there is no real rush on my part, I’ve been going slow with it. The theme I purchased shows large format pictures and it lets me use my own background image (yay for customization!!), so I wanted something fun and damask-like. I love damask.
Most places online will let you use their artwork free for personal use, but on a commercial site you need to pay them. So…I decided to make my own, since I have a non-money-making commercial site.
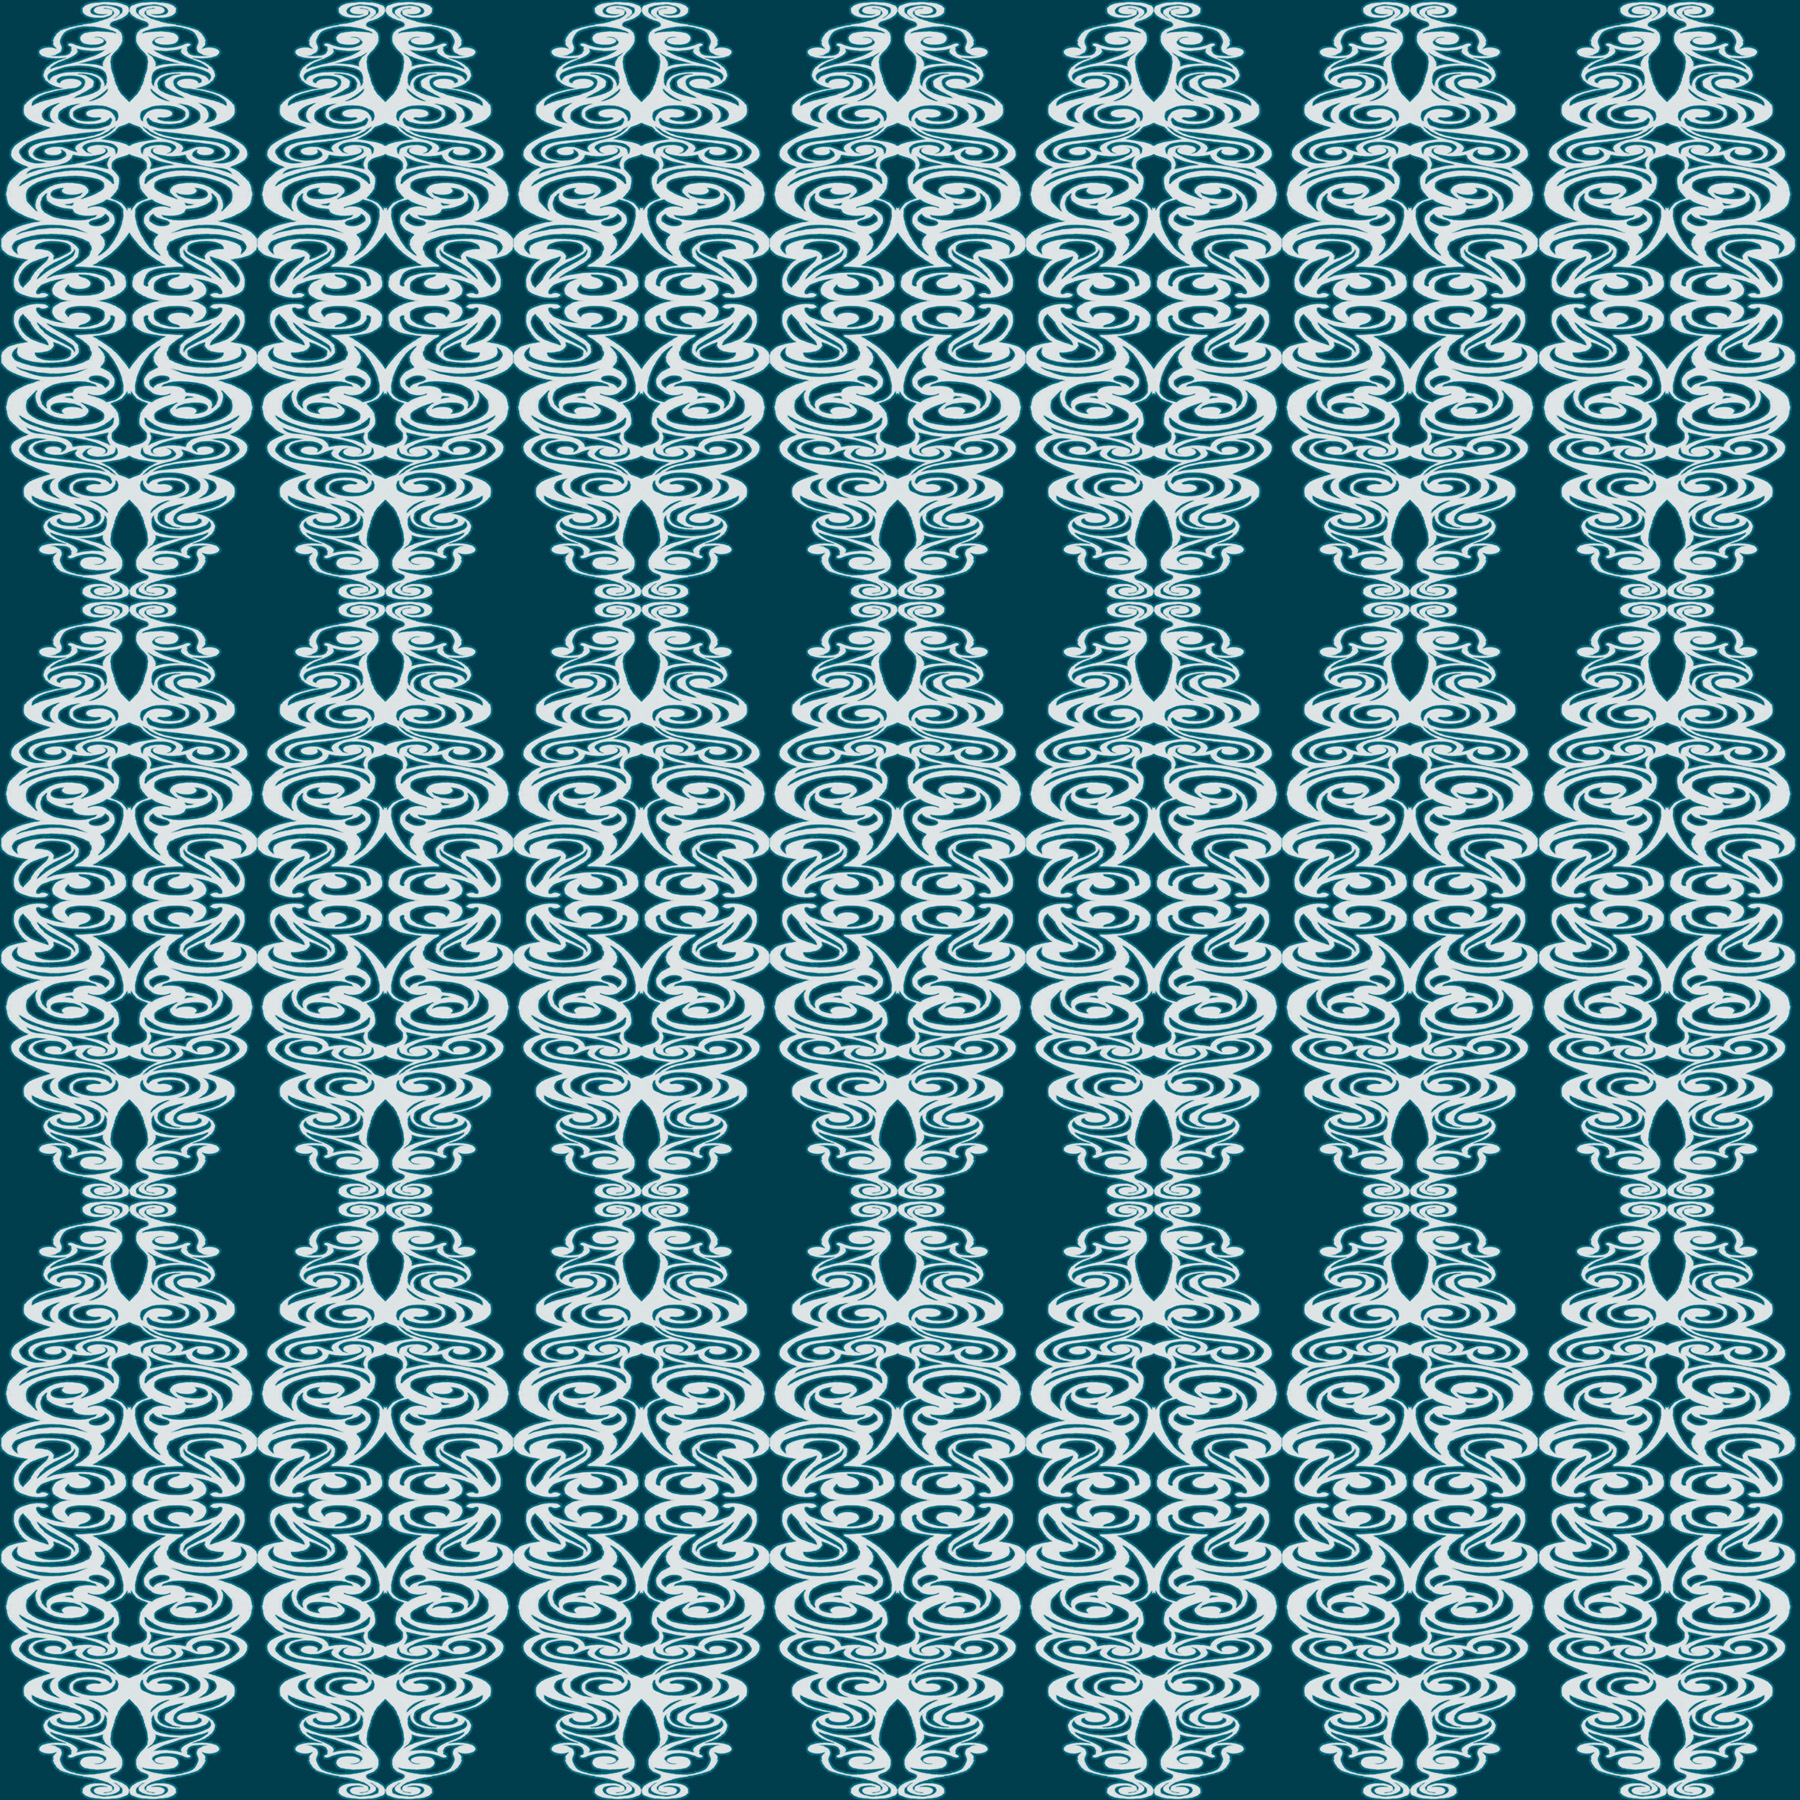
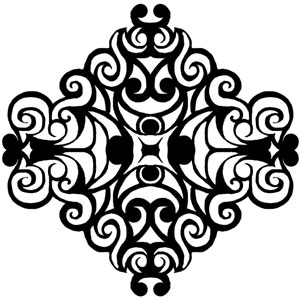
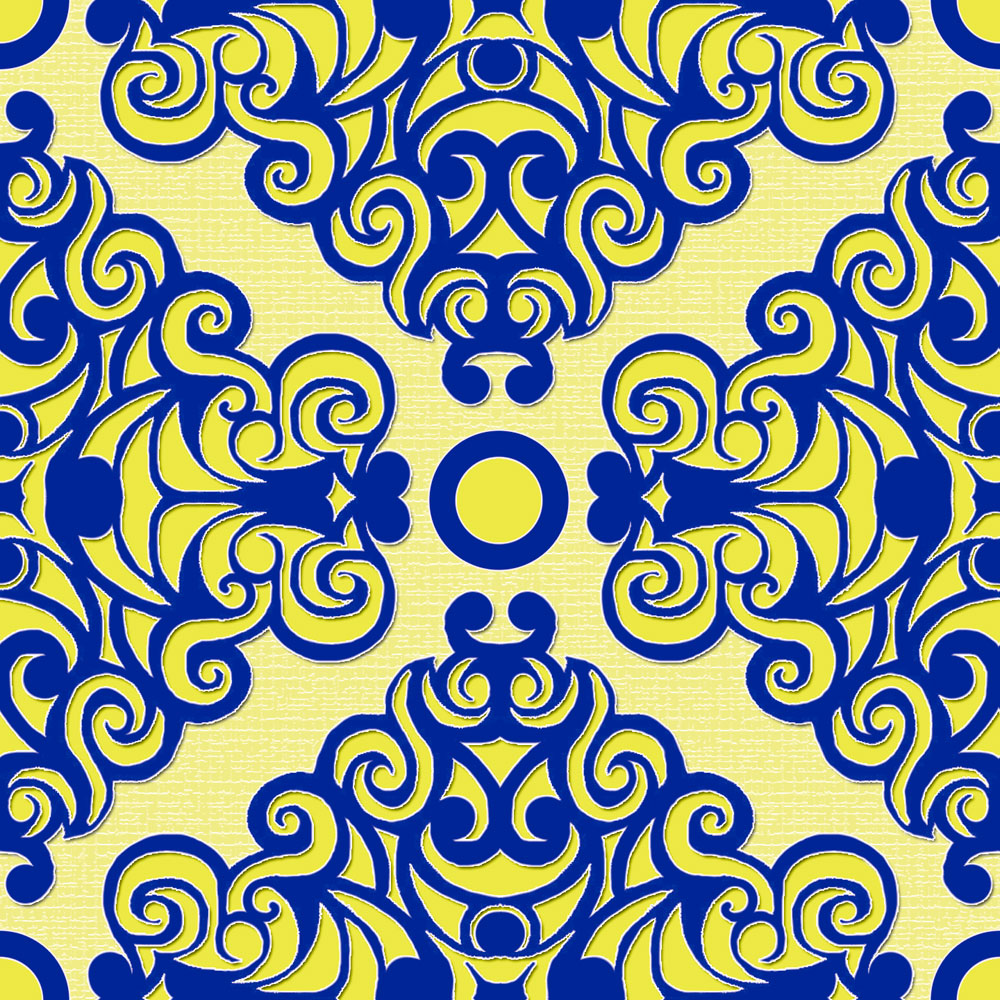
Here is the background image:

It looks really fun on the site. Isn’t it pretty?? I just love it! 😀
My steps:
1. Create a 1.5″ x 3″ box to create the design in. I drew only one side of the design in that box. You will create a mirror image so everything will be symmetrical.
2. Scanned it in and started working on it in Photoshop. I cleaned up the lines and used a black paint brush to fill in areas that didn’t scan well. Using a circlular hard (non-feathering) brush is the best way to get clean lines for both the erasing and painting. Plus, if there are circles in the design, I can make them more circular. It was a lot of erasing and painting. I used the magic eraser tool to select the white background and erase it.
3. I dragged this one-sided image onto a new file with 3×3 proportions and 300 resolution. I copied the layer (ctrl-J) and flipped it over to create the whole image. To flip, Ctrl-V and select the layer. Go to the middle-outside-edge of the image and click on the little box. Drag it over the top of the original image to the other side, and make sure the box on the toolbar above says -100%. I also put a white fill layer underneath to define the image better to my tired eyes, and merged the two halves into one layer.

4. Then I made it into a brush (Edit->Define Brush). Make certain you have the image layer selected for this step.
5. I created a new file with 12×12 proportions and created a new layer to put the first “stamp” on it. I then copied that layer several times and evenly spaced everything out. When I had a first row, I merged them all, then copied for the next rows and evenly spaced everything until I had the image filled. I merged all the image layers into one layer and then added a color fill layer underneath. Note: the layers didn’t always match up to the edges, so I just stretched them a little to fit.
6. This probably took me around an hour or so to do. Most of the time is spent cleaning it up in Photoshop
Let me know if you have any questions on it!
That’s my craftiness this week. I’m hoping to maybe perhaps print this into fabric. I got on the waiting list at Spoonflower, so hopefully in the next few months I will be able to order some small lots of fabric in my designs. That would fun! Expensive, but fun!
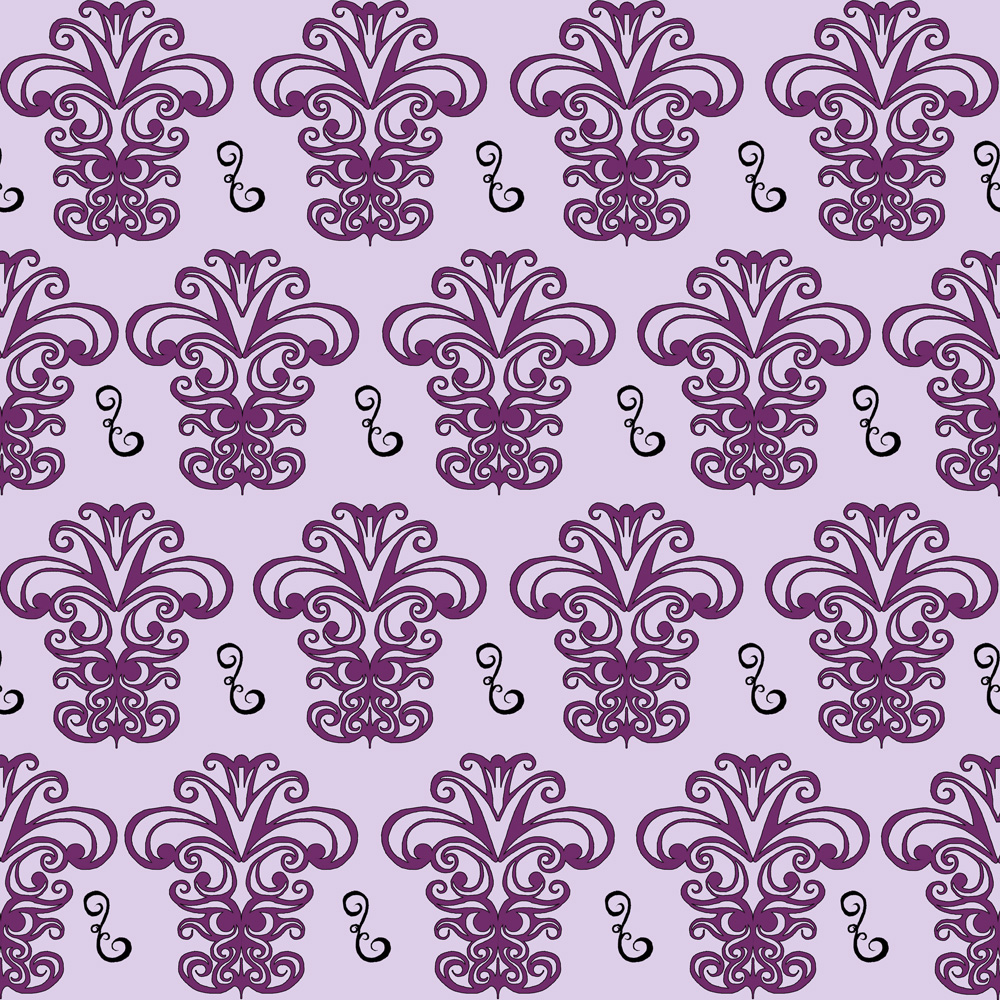
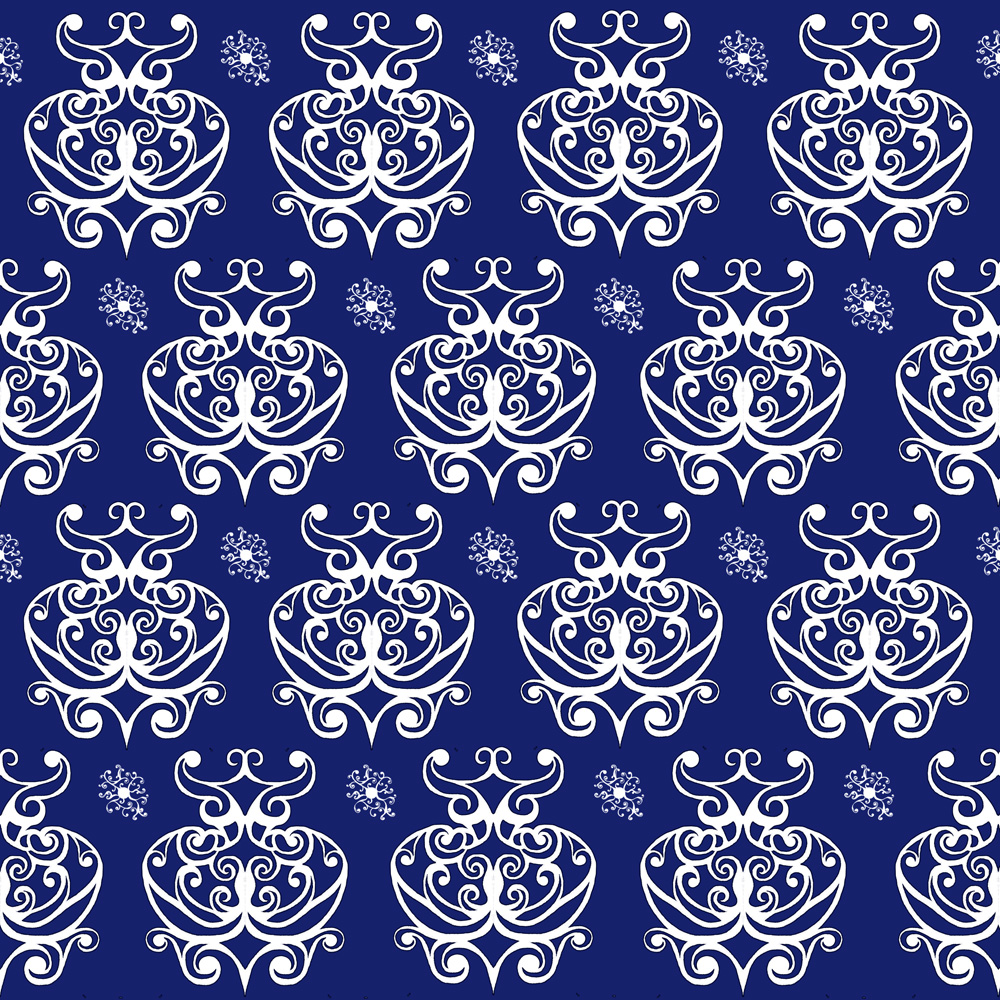
Here’s a few more lovelies I drew. Some took more time than others depending on how cleanly I drew them. I don’t really have a plan in my mind when I start drawing. I just create a rough line drawing, and then start filling it in and adding onto it to give it a sense of balance and cohesiveness. It’s amazing to see the transformation when the whole image is put together. It’s like cutting out a snowflake and then revealing it’s beauty when you open it up.


o0o0o0oh pretty!!
You never cease to amaze us. By the way, you lost me at “Here’s my steps”. Can’t wait to see the site. I stalled out on my site because I can’t seem to make it original.
Beautiful! You are just too creative Stacy!
Those are so pretty. I want to try something that creative sometime! Thanks for the step-by-step!
Those are beautiful! I especially love #4! Do you ever use Illustrator? It is my fave program of all time, and it might be a little easier to “draw” in.
I can’t wait to see the site! Where did you find a theme to purchase? Are you still using WordPress? I’ve been slow to learn how to fiddle with the CSS in WordPress to create my own templates…someday I’ll have some time for that.
Those are really beautiful. You are so creative.
Recently, I have been looking for a new template for my blog. One that allows bigger images, yet I can still post words. Its hard to find a “photoblog” template out there. Can I ask where you found your template?
I’m so happy you got happily carried away in you doodling. 🙂 Great background images. I do something similar on my cre8buzz site which reminds me I haven’t been over there in ages.
Nice tutorial too.
WOW those are so cool! I loved the tutorial as well, but WOW you got talent
Have you ever considered a career as a fabric designer? Seriously.
WoW! Are you serious? What CAN’T you do?!?! You’re amazingly artisitc
Thanks everyone I really appreciate all your nice comments on my art. 🙂
How fun! I’m not much of a doodler, but I so love to see what other people do.
I’m off to sew now…hope to post soon!
Wow. This is incredible. Totally over the top increidble. Not only do you have the artistic ability, you also have the creative mind to know how to put it all together and make it work. I love the gradient on the 3rd one. I just never know what talent you will reveal next!
Can’t wait to see your photo website! I’m so glad you’re doing that.
Um, Wow. I’m speechless. Well, almost speechless. These are truly fabulous. I think you could market them as backgrounds or even scrap booking pages.
VERY COOL Stacy!!
Have you ever seen that site that will print fabric from your own design??? You would love it – it would be great for your doodles 🙂
http://www.spoonflower.com/welcome
??? How in the world are you allowed to have so many talents?????
Those are seriously gorgeous! You need to sell them. 🙂 Share the goodness!
And thanks for the How-to! Perhaps one day I can try as well. You’re so awesome!
I agree with Melody, you lost me at HERE ARE THE STEPS, and I even know how to make brushes in ps. You are unbelievable and I cannot WAIT to see your photo site. I agree, I’ve been dragging my feet on mine since I don’t know how to make it exactly MINE and I’m waiting for inspiration. I think yours will be the most creative out there!
That’s so cool! You’re so very talented!!!
I love these! They’d make fine tattoos…
And I totally agree with the whole ‘doodling during class’ thing! I doodled volumes.